
Bursoscopy
Examination of the bursa, or bursoscopy, is more difficult than glenohumeral arthroscopy, but should be a routine part of the examination, particularly if clinically the patient has a painful arc of motion. The arthroscope is reinserted through the posterior portal with a blunt obturator inserted. The cannula and trochar are directed just under the acromion.
The most common fault of the inexperienced arthroscopist is failure to enter the bursa. In order to do this, the arm should be alongside the body, for this will increase the potential space available. Distraction of the arm is then applied in the direction of the feet, and the key is to push the cannula until the coracoacromial ligament can be felt on the tip of the blunt trochar. The trochar is moved from side to side and the coracoacromial ligament can be felt to flick from side to side (in fact it is the trochar flicking over the lateral edge of the ligament). If this manoeuvre is not performed, then the bursa may not be entered. If the arthroscope is not in the bursa when the fluid is switched on, it will create an extrabursal mass, which makes entry of the bursa almost impossible. The arthroscopist will then see an appearance as though the space was full of 'cobwebs' (Figure 5.37). If the bursa has been successfully entered, the arthroscopist will see a large synovially lined space (Figure 5.38). Orientation within this space is far more difficult than within the shoulder joint, and the insertion of two needles to mark the anterior edge of the acromion (Figure 5.39) - one at the lateral margin and another at the acromioclavicular joint - will help at this stage. The arthroscope is rotated upwards to examine the inferior surface of the acromion, which at this point is covered by the insertion of the coracoacromial ligament (Figure 5.40). Turning the arthroscope laterally, the edge of the acromion can be seen and the origin of the lateral multipennate section of the deltoid. The arthroscope is then rotated down to examine the superior surface of the rotator cuff (Figures 5.41, 5.42 and 5.43). When the examination is complete, the bursa is flushed out and the arthroscope and needles withdrawn. The skin puncture can be closed either with a single suture or with adhesive skin closure strips.
.jpg)
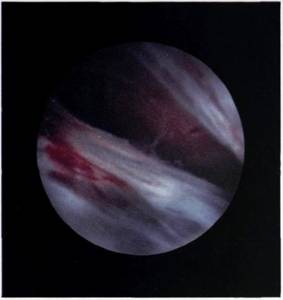
Figure 5.37 If the arthroscope is in the subacromial areolar tissue, posterior to the bursa, the space will seem to be full of 'cobwebs'.
Figure 5.38 The bursa, when successfully entered, is a large space.
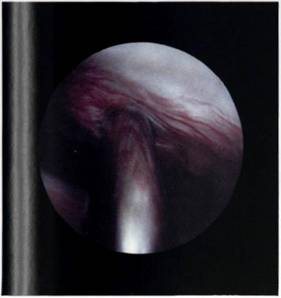
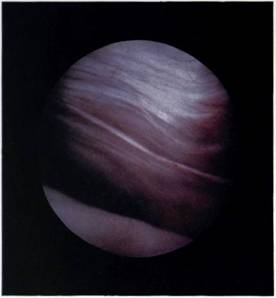
Figure 5.39 Orientation within the bursa is aided by placing needles to each side of the coracoacromial ligament, at the anterior edge of the acromion.
Figure 5.40 The undersurface of the acromion is covered by the insertion of the coracoacromial ligament.
.jpg)
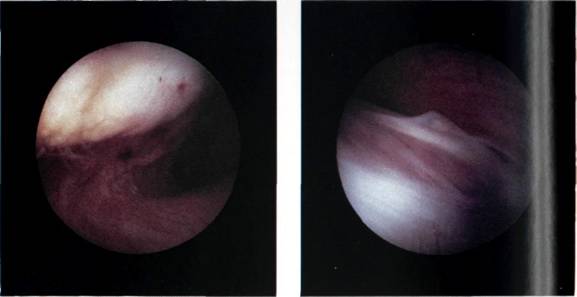
Figures 5.41, 5.42 and 5.43 The upper surface of the rotator cuff as seen during bursal endoscopy.
It is very important to make a drawing of the findings in the notes, as this is a far better reminder of what the joint and bursa actually looked like than a written documentary. A simple pattern upon which findings can be drawn is shown in Figure 5.44.
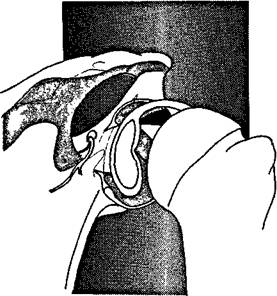
Figure 5.44 A simple pattern upon which the findings of shoulder arthroscopy can be drawn.
